

How To Roll Up Car Window With Broken Motor
Well-nigh all recently manufactured car on the market has a power window. It'south so rampant today that information technology has become a norm. Some of usa take even forgotten how to curl up a window manually.
It's quite understandable because most cars don't use this method since power windows vehicles are quite popular.
These Mechanical fittings frequently make things easier, and that includes the power window regulators.However, they may tend to develop a mistake such as a car window going downwardly but non up.
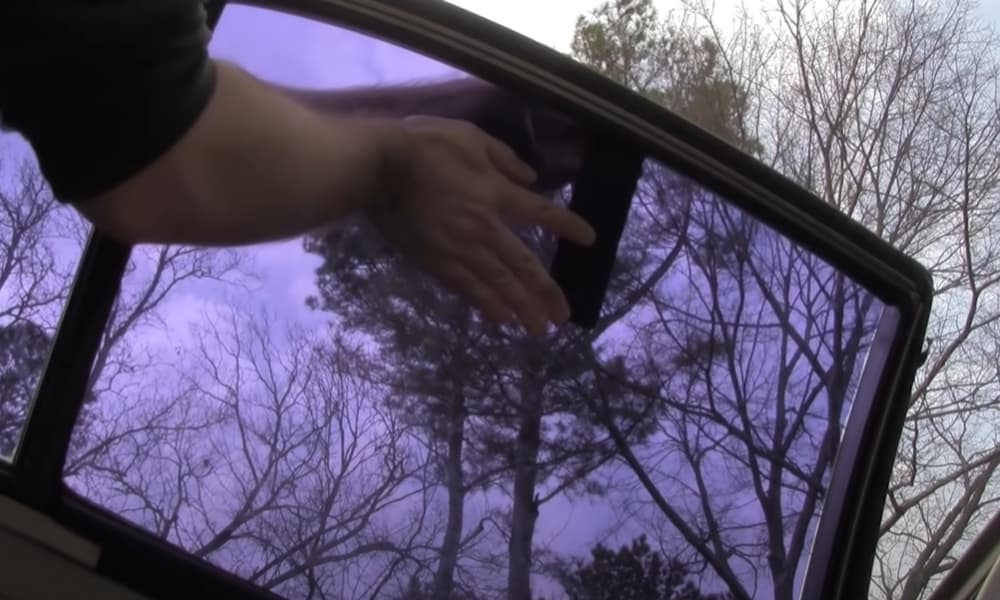
This situation exposes your auto to the dangers of theft or agin conditions weather condition. In times like this, how practise you pull upwardly a stuck power car window to avoid the problem mentioned before? Well, this guide will provide a DIY process to manually pull up the window quickly before carrying out a repair or replacement.
Let see the steps below.
How to Pull Upwardly Power Window Manually
Hither are the steps onhow to get upwardly a power window manually
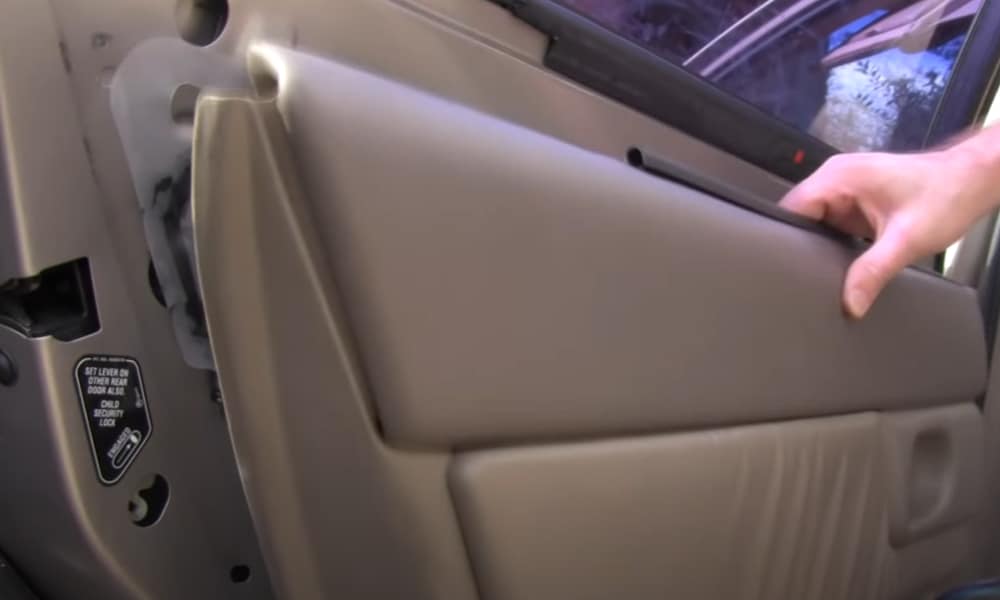
Stride ane: Take Out the Door Panel
The front end driver's side door panel has iii metallic and two plastic screws making upwards the v screws that concur it in position. Each of the metal screws is under a plastic embrace, beneath the door console grip, and behind the door and the correct courtesy low-cal. The none metal screws are at the edge of the panel.
You should take the plastic covers that conceal the screws and loosen them out. Then have the door console out of the console. Set a apartment screwdriver behind it and pull the whole panel backward to detach completely. Below the panel, disentangle the two cable connectors.
The next thing is to drag the tab behind the plastic connector with a screwdriver and take the connector autonomously. Move the door console to a corner. And so, take out the black plastic panel at the other end of thewindow locks.It would exist much simpler to pull information technology out with a screwdriver placed on the top and dragged downwards.
Pull up the console lesser to unhook the clamps that fasten information technology to the door frame. You lot can utilise your hand or a sleek prying device to accept out the both on each flank. Pull the panel up and move information technology off the rails; then twist the door and button it out of the lath while it'southward nonetheless holding upwards.
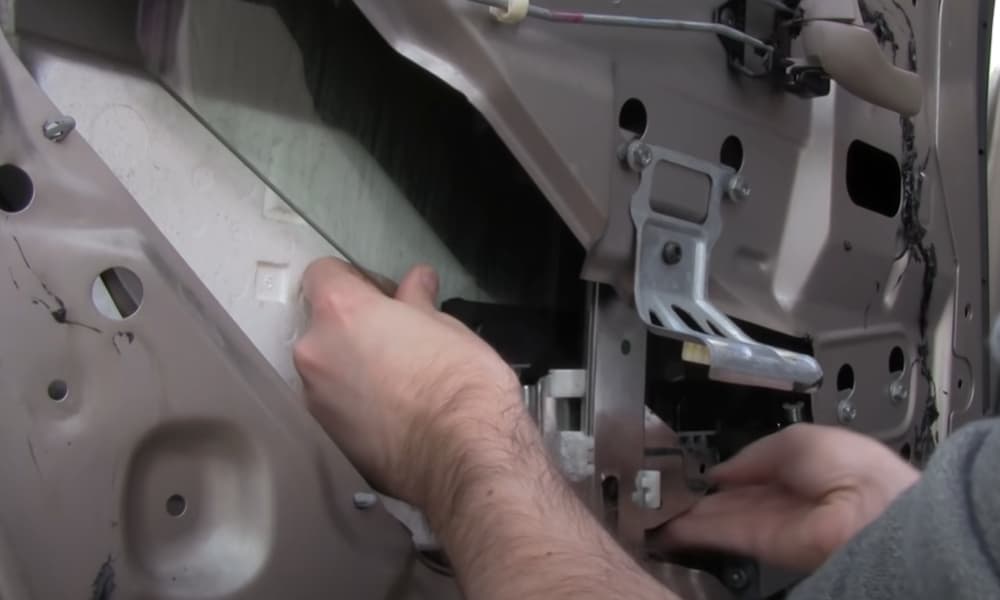
Step 2: Detach the Window from Motor
The first thing you should practise is to get some pieces of forest. They should exist about ane ft in length. The woods would serve as props to back up the window from the door.
You also find two clasps holding thewindow regulatormechanism. These nuts will be in the open if the window is down the biggest docks of the frame.
Loosen the nuts while holding the window, although the window can't fall off immediately as its sitting ledge mechanism. Pull the peak of the window as high every bit you can with one manus while securing information technology below with the other side. Insert the props in the frame, pushing it into the window bottom and door frame.
Pace three: Observe and Disconnect the Motor

First, detach the three screws and spike the motor to its position, which is close to the right side of the frame beneath the port. Shift the engine into view in one case you cease unscrewing the nuts. You can pull it to the back of the right port where it's accessible enough and easy to piece of work on and fix.
Get-go, observe a broad rubberband ring that is big enough to circle the bottom of the motor earlier you remove the cover. This ring helps to foreclose the falling and loss of screws at the lesser of the engine. Once you have fastened it on the motor base, so you tin can take out the nuts belongings the cover.
To take out the comprehend of the motor, pull it upward well to disassemble it from the magnetic clamp that holds it in position. The next thing is to remove the motor axle. This i volition be a little bit more complicated because of the two brushes stuck on either side of it.
These brushes shoot out immediately as y'all remove the beam, so you'll need two rubberband bands to hold them in place. If you lot get the snap ring, wrap it tightly around the copper cable heading to one of the brushes. Then thread it back to the other edge of the band and over the screw on the other function of the regulator.
Concur the other brush the same way you did the first one in a higher place with a 2d ring. If you have the brushes tightly secured, you can lift out the axle from the torso of the motor. Turn it anti-clockwise and movement the shaft to a safe corner.
Footstep four: Attach the Window to the Motor and Raise It
Here you'll accept to connect the window directly to the motor. You lot should raise information technology with your mitt to an extent and so completing the winding with a motor. Hold the window shutter from the top and bottom and so take out the props supporting them.
Tighten back the nuts that hold the window back to the regulator ledge. Ensure that y'all spike the screws well. So, place your easily below and above the window and pull it up every bit high every bit yous tin.
Pull it upward enough and so that information technology can comfortably sit down on the window frame, hold still until information technology maintains the tallest height. Use the other hand and identify back the motor beam into its position in the motor body. Let the shaft to go down on its own without pressure level until information technology goes deep into the motor.
Do not release your paw entirely from the window but utilize the second mitt to twist the shaft clockwise. The turning process helps it to lock into the motor torso and then click the commutator with the brushes you reattached.
Lift the window as high as possible when pushing the axle downward. When both of them are in identify, put dorsum the embrace of the motor with caution. Ensure yous don't disconnect the shaft mistakenly to avoid loosening downward everything again. Fasten the nuts back when the lid is dorsum in position.
Fix dorsum the door frame to its place, securing it with the v screws in their exact spots. Separate the wire connector completely as yous won't need them for a while.
Step 5: Put Dorsum the Door Panel
The final step is to fix back everything the manner information technology was earlier. Foremost, place back the polyethylene door frame cover before putting it into position. Fix the door again into the panel first, and and so place the top backside into the top door frame cover.
Place the door panel into the panel and reattach the two plastic cable connectors, and and then clasp it into position. Knock on both sides of the panel and the base of operations border to put the connector on the frame. Lastly, put dorsum all the screws you took out.
Final Word
You won't desire to become stuck with a auto window goes downwards but can't go up as information technology tin can be very frustrating. That's why you lot should know how to go a power window upwards manuallyin case of situations like this. Y'all would be in a much advantage position if yous had this knowledge when your auto window stopped working.
Our guide above highlights how you can go a temporaryset if the window won't roll upearlier calling a car repairer. In summary, you lot must:
- Disassemble the door panel before any other thing
- Ensure you grip the glass with adequate circumspection to avert damage
- Unscrew all basics and keep them safe
- Ensure you reattach all the screws subsequently everything.
Kindly exit your comment and questions below in the comment department.

How To Roll Up Car Window With Broken Motor,
Source: https://www.wcmanet.org/car-window-wont-go-up/
Posted by: hatfieldivii1991.blogspot.com
0 Response to "How To Roll Up Car Window With Broken Motor"
Post a Comment